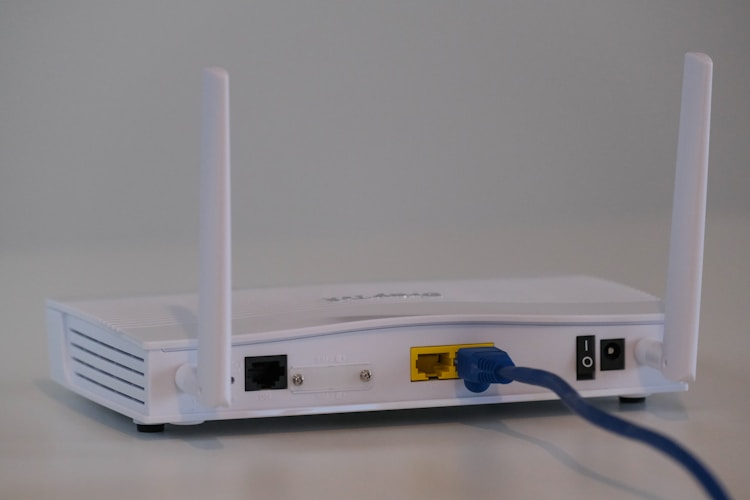
Printing from a laptop can be a real chore. Its not that easy to wirelessly print something if the printer is not connected to your computer or laptop through USB cable. Luckily, there are ways you can connect your printer to WiFi router so you can print documents wirelessly using any of your devices anywhere in your home without having to use any cables.
This is a process that can be done with just about any printer, and is really easy to do. You will need your WiFi router, printer, an Ethernet cable, and a computer that is connected to the WiFi network.
The first thing you want to do is make sure that both your printer and WiFi router are turned on and that they are connected to the same network. Once thats been verified, you will want to take the Ethernet cable and connect your printer to your WiFi router. After that is done, turn on your computer and open up the Printers and Scanners window.
You should now see your printer listed in the window. If not, click on the Add printer or scanner button and follow the instructions. After your printer has been added, select it and click on the Properties button.
A new window will open and you will want to click on the Ports tab. Under the Use port box, you will see a list of available ports. Select the one that says Standard TCP/IP Port and click on OK.
Locate the printer icon in the taskbar and right-click on it, a menu will open up. Select the Printing preferences option. In your printers window you should see a New Connection button, click on it. You will need to select Custom from the list of options that pop up and then hit Next.
In this box enter http://192.168.1.1 as the address and then choose Internet Printing Protocol (HTTP) from the pull down menu below it by clicking on it twice if its not already selected. Now hit Next. This is going to be where things get a little tricky but there are some really important steps here so please read closely before doing anything else!
You will need to enter your WiFi routers IP address in the Host name or IP address box. You can find this information by going into a web browser and typing it in manually, or you can open up command prompt and type ipconfig /all. The router address is going to be next to Default gateway under your connection status. Also set the port number to 8080, then click on Next. Now type anything you want for Queue Name, I usually just use my SSID but if you dont know what that is hit OK without typing anything in it. Finally, make sure all of your settings look like mine above (the red circles are where you need to change the info) and press Finish when ready!
After this last step your printer should connect to WiFi router and you can now print from any computer or device connected to the same network as the printer.


