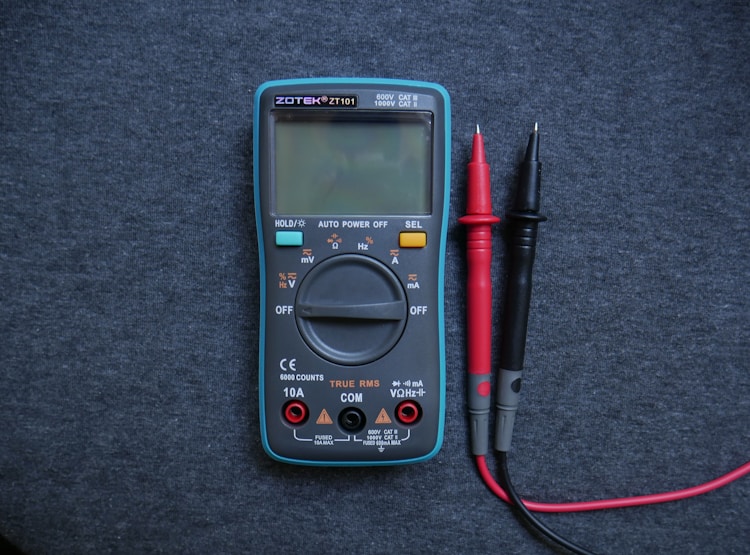
Do you want to know how to test a battery with a multimeter? Multimeters are essential tools for anyone who wants to work on cars, batteries, or electrical systems in their smart home.
In this blog post, we will show you how to use a multimeter to test the voltage of a battery. We will also give you some tips and tricks for getting the most accurate results. Stay tuned!
- What is a multimeter and what can it be used for
- How to test battery voltage with a multimeter
- Tips and tricks for getting accurate results
- Final thoughts
What is a multimeter and what can it be used for
A multimeter is a device that can measure voltage, current, and resistance. It is an essential tool for anyone who works with electrical systems. You can use a multimeter to test the voltage of a battery. This is how you do it:
How to test battery voltage with a multimeter
Testing a battery with a multimeter is a fairly simple process, but there are a few things you need to keep in mind in order to get accurate results. In this guide, we’ll walk you through how to test a battery with a multimeter, as well as some tips and tricks for getting the most accurate readings.
To test a battery with a multimeter, you’ll need to set the multimeter to the “DC Voltage” setting. Once you’ve done that, touch the black lead to the negative terminal of the battery and the red lead to the positive terminal. You should see a reading on the multimeter display.
If you notice that the multimeter shows OL, it means that you are doing something wrong. Here is a guide on what OL means and how to fix it.
Keep in mind that multimeters can be affected by things like electrical interference, so it’s always a good idea to take multiple readings and average them out. Also, make sure you’re using fresh batteries in your multimeter – old or dead batteries can give inaccurate readings.
With these tips in mind, testing a battery with a multimeter is a quick and easy way to get an accurate idea of its charge level. So next time your battery is acting up, grab a multimeter and give it a try!
How to test a car battery
Testing a car battery with a multimeter is a simple process that can be done at home.
The first step is to remove the battery cover, and then disconnect the negative terminal from the battery. Next, connect the red probe from the multimeter to the positive terminal of the battery, and then connect the black probe to the negative terminal. After that, you will need to set the multimeter to the correct setting, which is usually 20 volts. Finally, touch the probes together and check the reading on the multimeter. If it is above 12 volts, then your battery is good.
If your battery is dead, or if it reads below 12 volts, then you will need to replace it. You can buy a new battery at most auto parts stores, or you can order one online. Be sure to get the correct size and type of battery for your car.
Tips and tricks for getting accurate results:
– Make sure the battery is fully charged before you test it. A discharged battery will have a lower voltage.
– If possible, test the battery in an environment that is cool and dry. Extreme temperatures can affect the results of your test.
– Avoid touching the leads of the multimeter to the battery terminals. This can cause a voltage drop and give you an inaccurate reading.
– Take multiple readings and average them out. This will help to offset any inaccuracies caused by electrical interference or other factors.
Final thoughts
Testing a battery with a multimeter is a quick and easy way to get an accurate idea of its charge level. By following the tips and tricks in this guide, you can ensure that you get accurate results every time. So next time your battery is acting up, grab a multimeter and give it a try!


